



Actualités
Les commentaires les plus authentiques des clients, les vidéos de support technique hautement informatives et nos dernières mises à jour!
Les commentaires les plus authentiques des clients, les vidéos de support technique hautement informatives et nos dernières mises à jour!

Voir: 49

Date de publication:2026-09-08
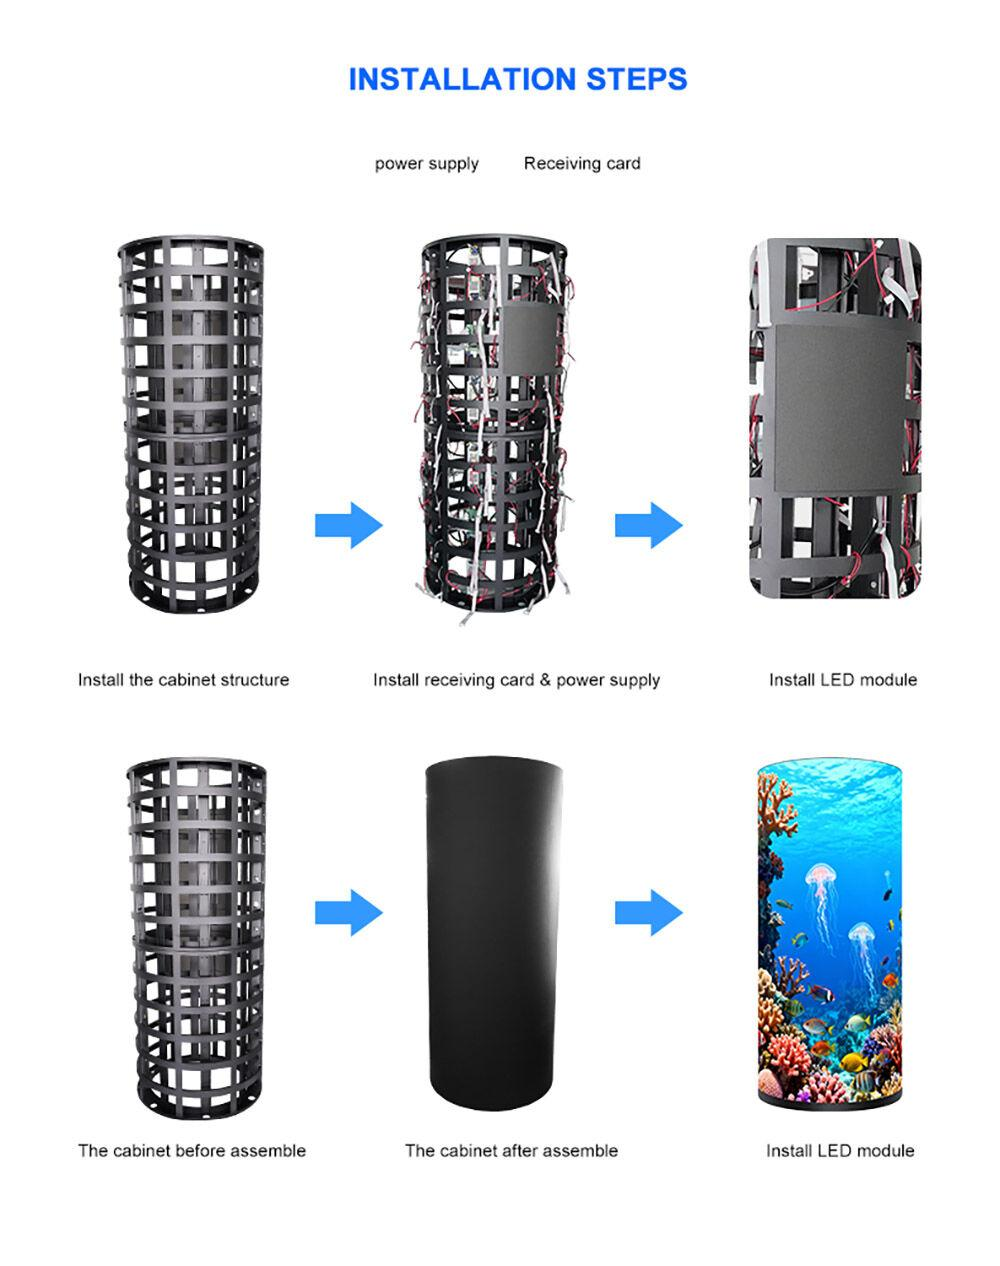
Installing a Bottle-shaped LED screen looks simple at first. Build a cylindrical frame, attach flexible LED modules, connect the power and signal cables, and turn on the screen.
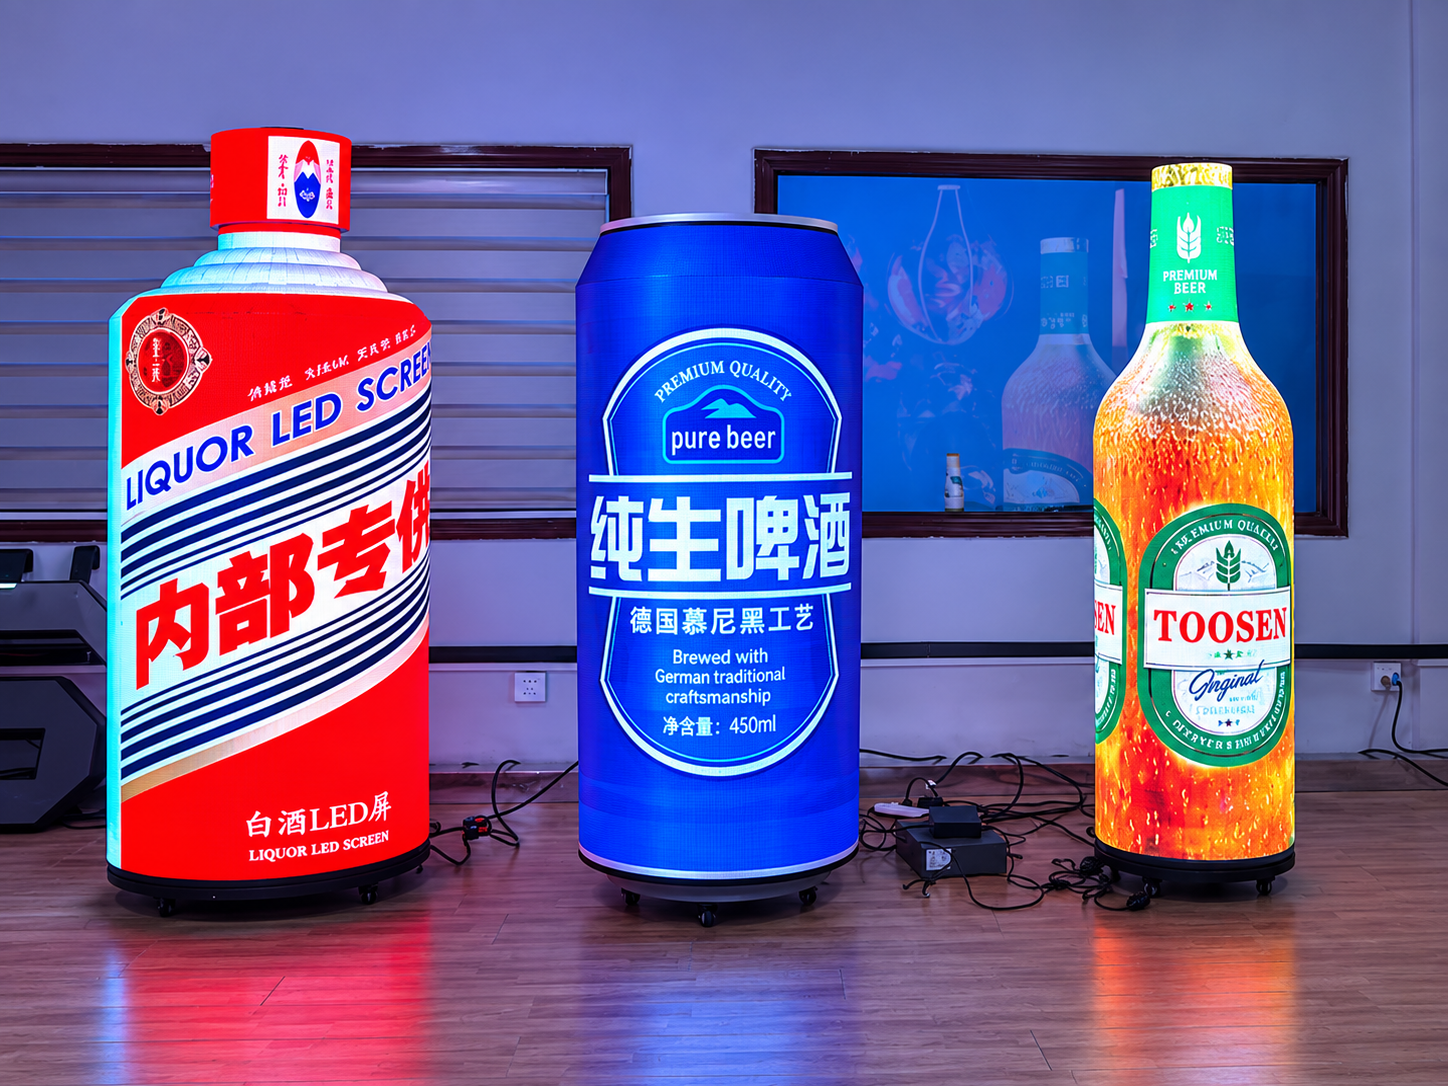
In a real project, however, one small installation error can create a visible vertical line from the top of the display to the bottom.
This is especially noticeable when the screen shows a product logo, beverage label, continuous animation, or other 360-degree content.
The problem is often not the LED module itself. The diameter, circumference, supporting frame, module position, and content mapping all affect the final result.
For this reason, a good can shaped LED screen installation should start with geometry rather than simply attaching modules to the frame.
A traditional LED wall has a flat surface. Modules are installed in straight horizontal and vertical lines.
A can-shaped LED display is different because the modules have to form a continuous curved surface.
Imagine that the first module is installed only slightly out of position. The difference may not look serious at the beginning. But as more modules are installed around the circumference, the small error continues to accumulate.
When the final module meets the first one, installers may find:
the gap is too large;
the last module is too tight;
the vertical edges do not align;
the surface is not perfectly round;
or the image has an obvious break at the closing point.
Trying to force the last module into position usually does not solve the real problem. It may create uneven module stress or make the seam even easier to see.
Before production or installation, confirm the required diameter of the LED can.
The basic calculation is:
Circumference = π × Diameter
For example, if the required diameter is 1 meter, the theoretical circumference is approximately 3.14 meters.
However, this does not mean that any combination of flexible LED modules will automatically close perfectly around the structure.
The module width, quantity, actual frame diameter, module gap, and fixing method all need to work together.
This is why a customized cylindrical LED display should normally be designed around a module layout rather than building an arbitrary metal cylinder first and trying to cover it with LED modules later.
For customized projects, CAD or 3D structural drawings are useful for confirming the diameter, height, module arrangement, base position, cable route, and maintenance area before production begins.
Even if the circumference calculation is correct, an inaccurate supporting structure can still create visible seams.
Measure the diameter at several positions around the frame instead of checking only one point.
Also check the diameter at different heights.
If the upper part of the frame is slightly wider than the lower part, the modules may form a smooth circle at the bottom but become misaligned near the top.
The metal surface should also be smooth enough for the magnetic modules to sit evenly.
Before installing all the modules, check:
Roundness → Vertical alignment → Diameter → Magnetic surface → Top and bottom position
For larger custom screens, a temporary test assembly at the factory can identify structural problems before the display reaches the installation site.
One useful installation method is to avoid covering the whole structure immediately.
Install the first complete horizontal ring of flexible LED modules first.
Start from the planned closing position and continue around the circumference. When the final module reaches the starting point, check the closure carefully.
The two ends should meet naturally without forcing the modules.
This trial ring can quickly show whether the diameter and module layout are correct.
If the closure is good, use the first ring as a reference and continue installing the remaining modules vertically.
This is much safer than installing the entire screen and discovering a large vertical gap at the end.
A 360-degree LED display still has a physical starting and closing point.
That position should be planned before installation.
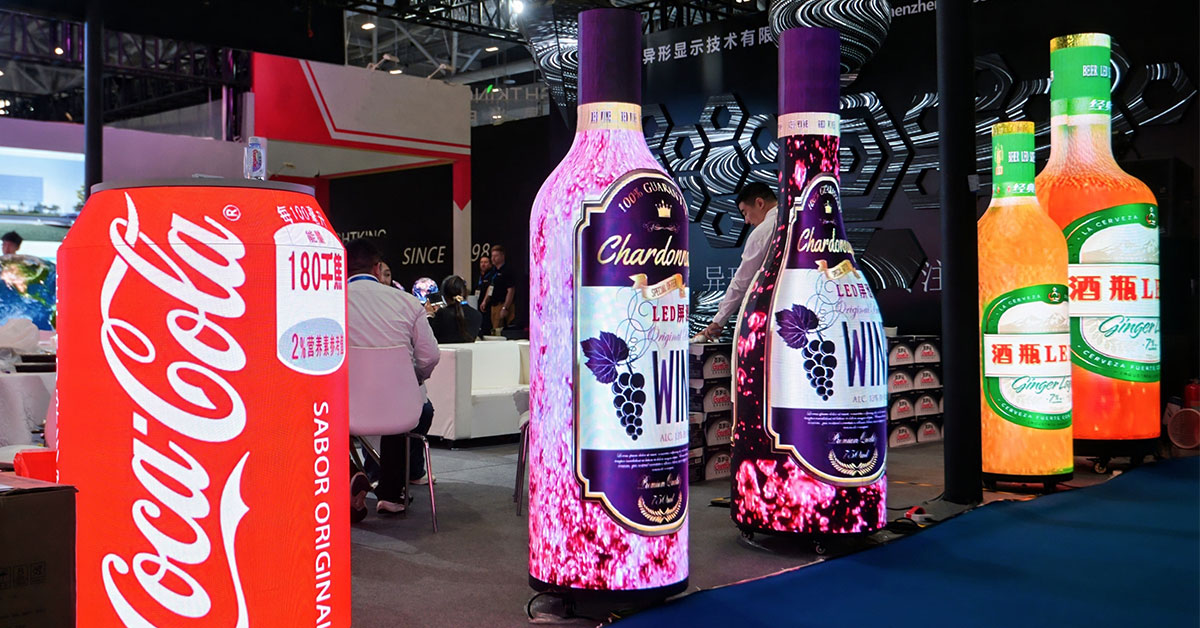
For a beverage-can-shaped display in a retail store, for example, the main brand logo may face the entrance or the main customer traffic direction.
The closing seam can then be placed toward the rear or another less important viewing direction.
Do not place an important logo, product name, face, QR code, or small text directly across the closing line whenever possible.
Good installation and good content design should work together.
A technically small seam can become visually obvious when important graphics cross it.
Cable routing is another part of installation that is easy to overlook.
A can-shaped structure has limited internal space, especially on smaller customized displays.
Power supplies, receiving cards, data cables, and power cables should therefore be positioned before the final LED modules close the structure.
Cables should not push against the back of the flexible modules.
They should also not be bent sharply or placed where future module replacement becomes difficult.
For floor-standing displays, cables can often be routed through the base. Larger installations may use a customized internal structure with dedicated areas for power supplies and control equipment.
The goal is simple: keep the outside smooth while keeping the inside organized and serviceable.
Turning on the screen and playing a promotional video is not enough.
Use several simple test patterns first.
Display full red, green, blue, white, and black images.
This helps identify abnormal pixels, color differences, dark modules, and brightness inconsistency.
Display horizontal and vertical grid lines.
If a line bends or suddenly changes direction at one position, check the module alignment or frame surface.
Run a vertical line continuously around the 360-degree surface.
Watch carefully when the line crosses the closing seam.
A smooth transition usually indicates that the physical installation and content mapping are working correctly.
Finally, test the actual advertising material.
Check logos, text, faces, package graphics, and animations from several viewing angles rather than standing at only one position.
Sometimes the physical seam is good, but the image still looks broken.
In this situation, the problem may come from LED pixel mapping rather than mechanical installation.
The controller needs to understand how the flat video source corresponds to the physical pixels around the curved screen.
If the beginning and end of the content do not match, viewers may see an image jump when an animation moves around the display.
The content resolution should therefore be prepared according to the actual LED pixel layout.
For a true 360-degree visual effect, both hardware installation and content mapping need to close correctly.
A can-shaped LED screen works especially well when the physical display itself is part of the advertising idea.
Common applications include:
beverage and energy drink promotions;
supermarkets and retail stores;
shopping mall advertising;
exhibitions and trade shows;
product launches;
bars and entertainment venues;
brand activation events.
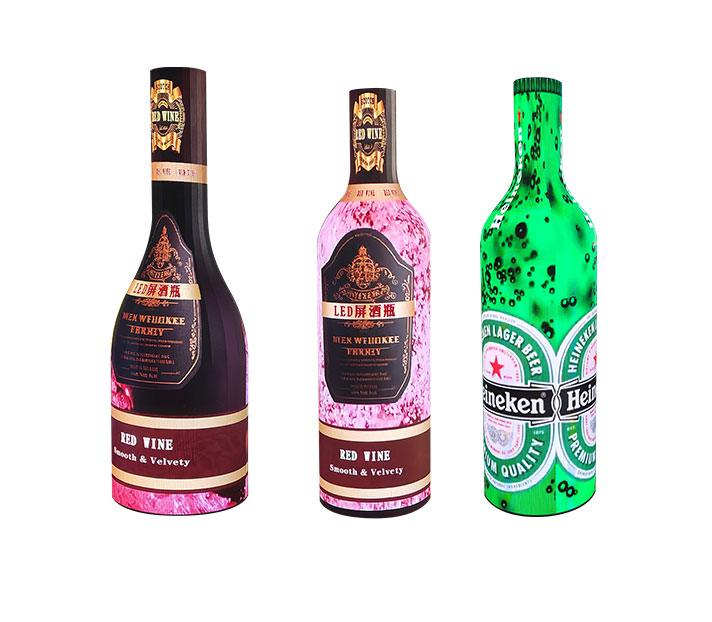
Instead of showing a beverage advertisement on a rectangular video wall, brands can turn the entire display into a giant digital version of the product package.
The screen shape becomes part of the message.
Yes. Flexible LED modules can form a wrap-around display, while the control system and content mapping manage the image across the curved surface.
Yes. The diameter and height can be designed according to the project, but the module dimensions and structural layout should be considered before the final diameter is confirmed.
 +86 18688923792
  andy@tosled.com


