


Industry news


View: 181

Release time:2026-04-27
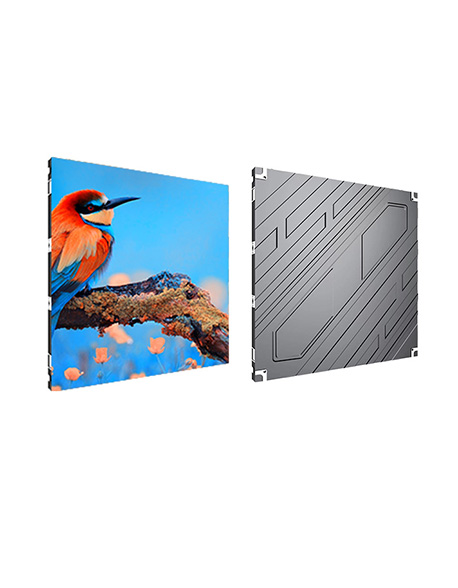
LED display failures often trace back to a single faulty chip. If you can accurately identify and replace that chip, you can dramatically reduce maintenance costs and downtime. In this guide, you’ll learn how to diagnose issues and perform precise repairs.
Before you start replacing anything, you need to diagnose the problem correctly. Different symptoms usually point to different failure types:
Dead pixels (black dots) → Open circuit or chip failure
Constant bright pixels → Short circuit
Color abnormalities (e.g., red missing) → Specific RGB chip damage
Row/column failure → Driver IC or PCB trace issue (not chip-level)
Therefore, always confirm whether the issue is truly at the LED chip level before proceeding.
Accurate diagnosis requires proper tools. Avoid guessing—it leads to unnecessary replacements.
Multimeter (diode mode)
LED tester
Microscope or magnifier
Thermal camera (optional but powerful)
Visual inspection first
Look for burnt marks, cracks, or discoloration.
Power-on observation
Identify abnormal brightness or color shifts.
Point testing with LED tester
Test individual pixels to confirm failure.
Circuit probing
Use a multimeter to check voltage and continuity.
Precision matters. Replacing the wrong chip wastes time and risks damaging the module.
Use a signal tracing method: follow data flow from driver IC to pixel
Compare with a known good module
Check RGB channels individually
For example, if only the red channel fails across multiple pixels, the issue may not be the LED chip but the driver IC.
Once you confirm the faulty chip, proceed carefully.
Hot air rework station
Soldering iron (fine tip)
Tweezers
Preheat the area to avoid PCB stress
Apply controlled hot air (typically 260–320°C)
Gently lift the chip with tweezers
Clean pads using solder wick
Avoid overheating—this can damage nearby components or lift PCB pads.

Installation precision directly affects display quality.
Align the chip orientation (RGB polarity matters)
Apply solder paste evenly
Use reflow or hot air for soldering
Inspect solder joints under magnification
After installation, test immediately before reassembling the module.
After replacing the chip:
Power on the module
Check brightness consistency
Verify color uniformity
Run aging test (2–4 hours recommended)
If needed, recalibrate the module to match surrounding panels.
Use high-quality chips with stable encapsulation
Ensure proper heat dissipation
Avoid excessive humidity exposure
Maintain stable power supply
Replacing faulty LED chips is not just a repair task—it’s a precision operation. When you follow a structured diagnostic process and use the right tools, you can restore display performance efficiently and extend the lifespan of your LED modules.
 +86 18688923792
  andy@tosled.com


