

Industry news

View: 286

Release time:2026-03-25
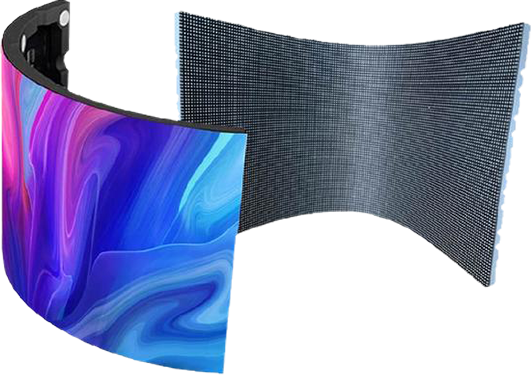
Successfully capturing curved LED walls on camera is a high-stakes game of physics and precision. When you move away from flat surfaces, you introduce complex viewing angles that can wreak havoc on your image quality.
Here is how to master the technical challenges of curved LED displays, from pixel pitch selection to custom content creation.
1. Defeating the Moiré Pattern on Curves
Moiré patterns occur when the LED pixel grid conflicts with the camera sensor's grid. On curved surfaces, this becomes even more aggressive because the distance between the lens and the pixels varies across the arc.
The "Optical Blur" Technique: Slighting defocusing the background is the most reliable fix. By pulling the focus plane slightly forward, you soften the LED grid just enough to disappear while keeping your subject sharp.
Physical Diffusion: Applying a high-quality anti-glare or diffusion film to the LED surface can physically break up the pixel edges.
The 2x Rule: To minimize moiré, ensure your camera resolution is at least double the "visual resolution" of the LED wall from the shooting distance.
2. Choosing the Right Pixel Pitch
In a professional photography or broadcast environment, "close enough" isn't good enough. The Pixel Pitch (PP)—the distance between the centers of two pixels—determines your minimum shooting distance.
The Calculation: Use the industry shorthand: Pixel Pitch (mm) × 1000 = Minimum Viewing/Shooting Distance. For example, a 1.5mm pitch wall requires the camera to be at least 1.5 meters away to avoid seeing individual pixels.
Curvature Impact: For tight curves, you need a smaller pixel pitch. As the screen bends, the horizontal gap between pixels can appear to "close" or "open" depending on the camera angle, leading to visible vertical lines if the pitch is too coarse.
The Sweet Spot: For high-end virtualproduction (VP) or studio backdrops, PP 1.2 to 1.9mm is currently the gold standard for balancing cost and camera compatibility.
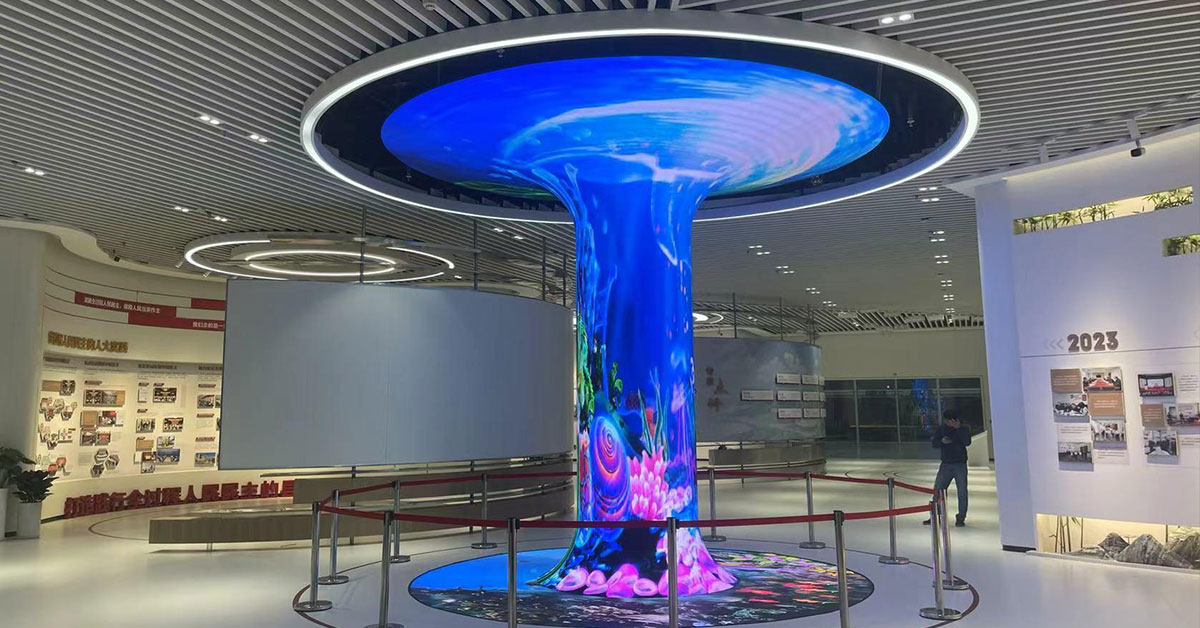
3. Installation and Calibration Challenges
Large-scale curved walls aren't just displays; they are massive engineering projects that generate significant heat and structural stress.
Structural Integrity & Heat Dissipation
Curved walls often utilize "flexible" modules or faceted cabinets. These require a bespoke CNC-machined frame to prevent "stepping" (visible gaps between panels). Because these walls are often enclosed to look seamless, heat traps become a major risk. You must implement a forced-air cooling system behind the structure to prevent thermal expansion, which can physically warp the alignment and ruin the calibration.
Achieving Color Uniformity
Curvature changes how light hits the camera lens. Pixels at the edges of a curve may appear dimmer or shifted in color due to the "viewing angle brightness drop-off."
Per-Pixel Calibration: Use a specialized camera-based calibration system (like Radiant Vision Systems) to measure the wall from the primary camera position.
Seam Correction: Use software to manually adjust the brightness of the "seams" where the cabinets meet, as curves often exaggerate these junctions.
4. Mastering Non-Standard Content Creation
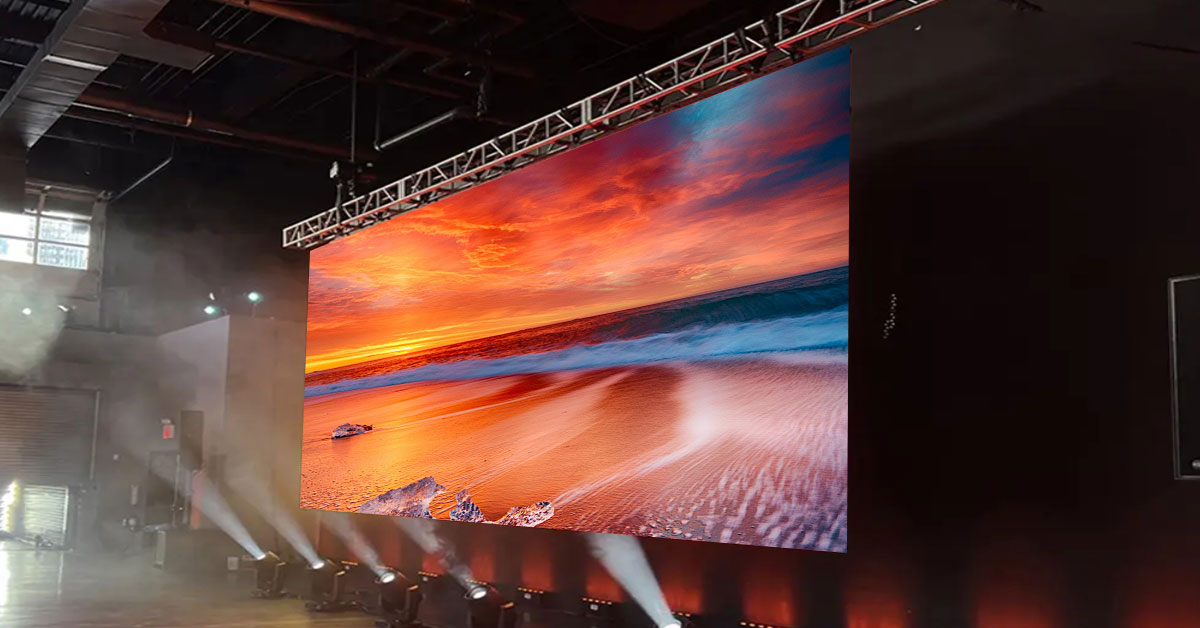
A standard 16:9 video file is the enemy of a curved ultra-wide wall. If you stretch a 1080p signal across a 32:9 curved surface, your content will look pixelated and distorted.
Designing for Ultra-Wide Aspect Ratios
Native Resolution Mapping: Always design in the 1:1 pixel workspace of the wall. If your wall is 7680 x 1440, your composition in After Effects or Unreal Engine must match those exact dimensions.
The "Anamorphic" Correction: Since the wall curves around the viewer, straight lines in your video might appear bent. Content creators often use a "mesh warp" in the media server (like Disguise or 7thSense) to counteract this optical distortion.
SpatialAwareness: Keep your primary "action" in the center of the curve. Use the peripheral areas for atmospheric elements (gradients, blurred textures) to avoid overwhelming the viewer’s field of vision.
 +86 18688923792
  andy@tosled.com