


Industry news


View: 191

Release time:2026-04-14
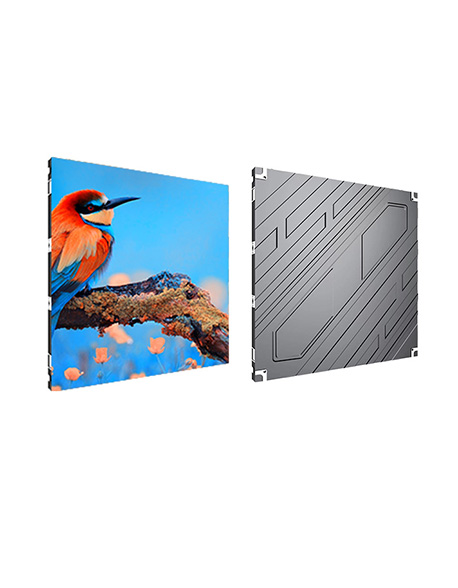
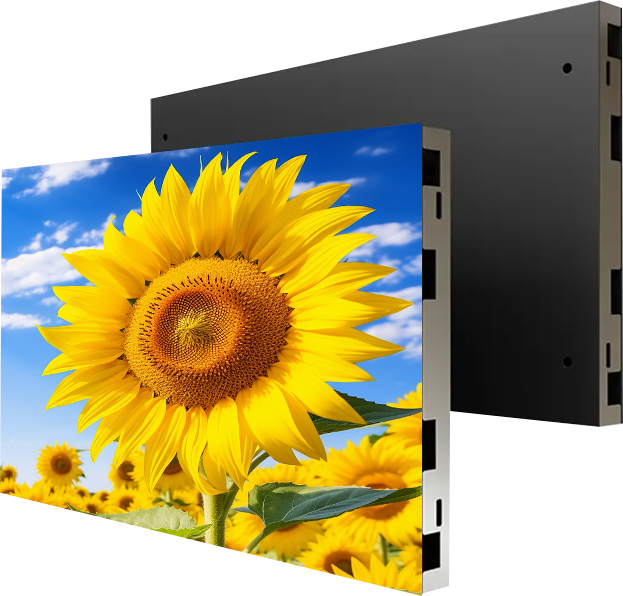
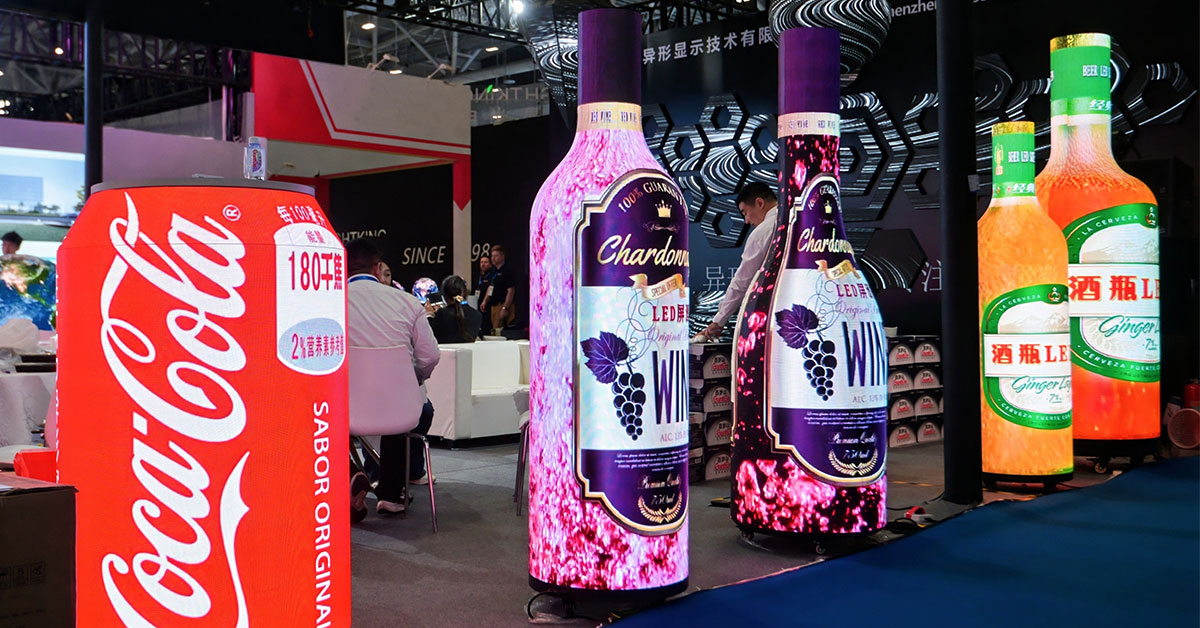
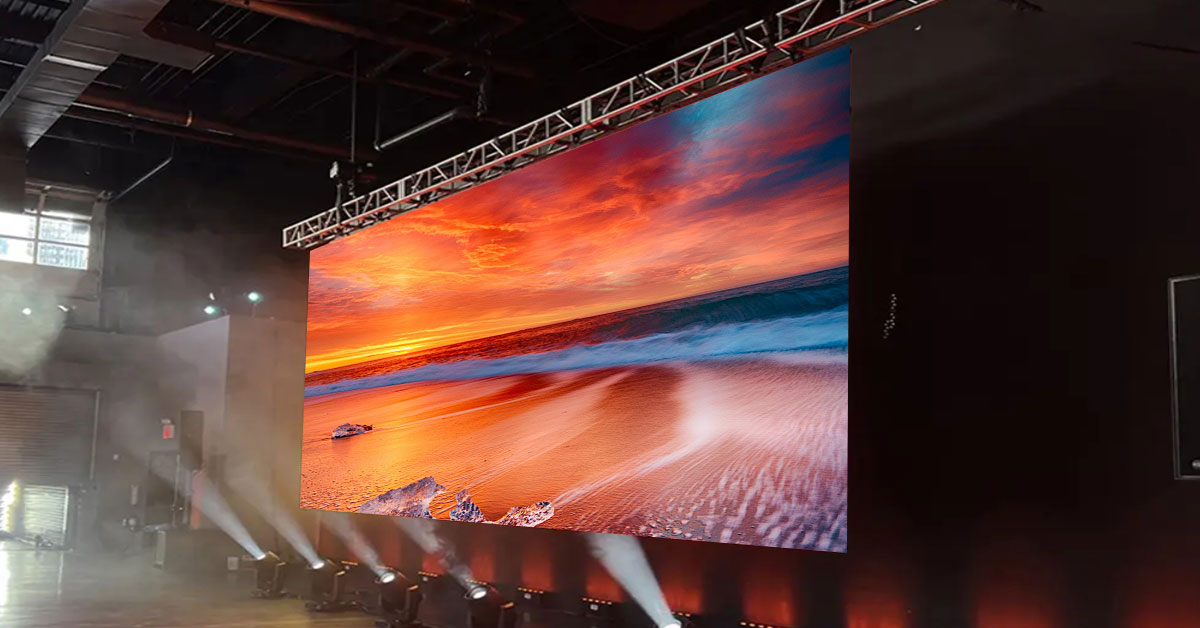
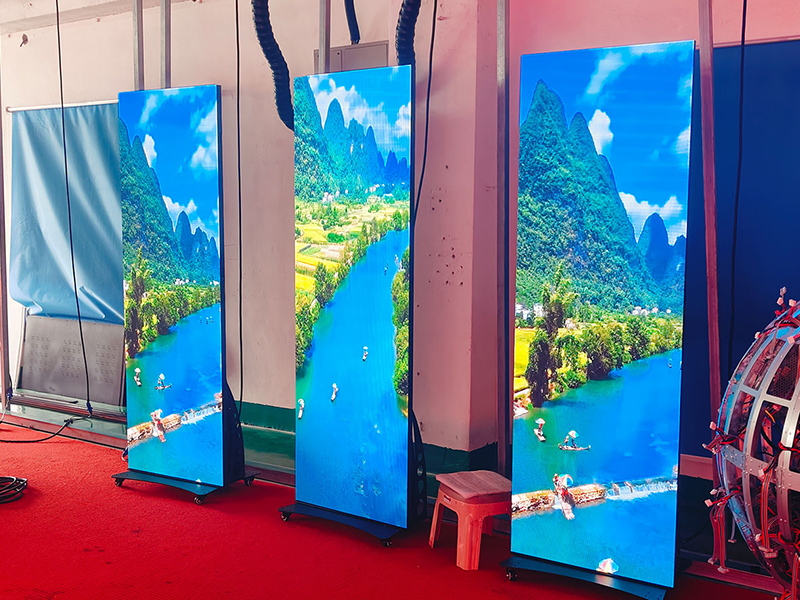
When a high-end LED poster display develops "dead pixels," professional technicians do not waste time soldering individual tiny LED lamps on-site. For GOB and COB displays, the fastest and most effective repair method is a full module replacement.
Because these screens use protective layers or integrated packaging, traditional repair tools cannot reach the internal chips. Follow this direct, step-by-step guide to restore your display in minutes.
Before you begin, gather the following items to ensure a smooth repair process:
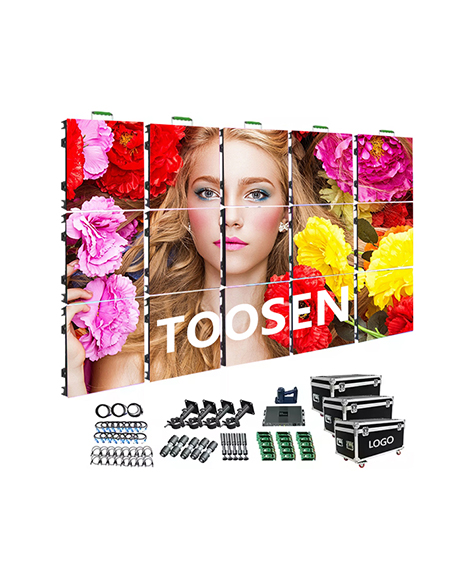
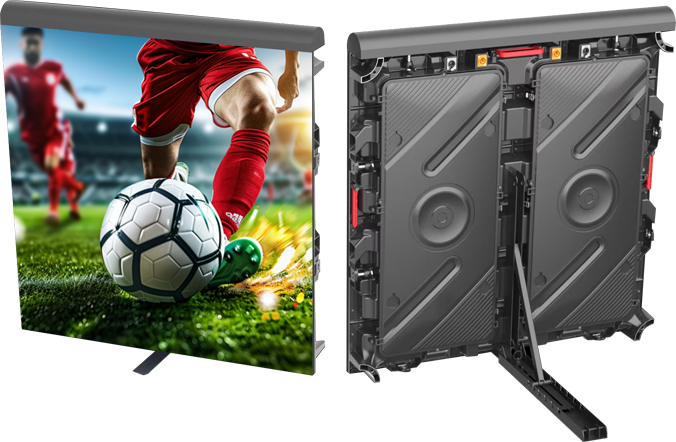
· Magnetic Suction Tool: Most LED posters feature front-maintenance designs. You will need a specialized magnet or vacuum suction tool to pull the module from the frame.
· Matching Spare Modules: Always use modules from the same production batch. Different batches often have slight variations in color and brightness that will ruin the screen’s uniformity.
· Anti-Static Gloves: Wear these to prevent static electricity from frying the sensitive LED chips.
First, turn on the display and run a test sequence. Cycle through solid colors—specifically full white, red, green, and blue. These "pure" backgrounds make it easy to spot dark spots (dead pixels) or abnormal bright spots. Mark the exact module that requires replacement.
Once you identify the target, follow these steps to remove it safely:
1. Cut the Power: Always turn off the power supply first to protect both yourself and the internal circuitry.
2. Attach the Tool: Place your magnetic suction tool flat against the center of the faulty module's surface.
3. Pull Vertically: Apply steady, outward pressure. Pull the module straight out from the cabinet.
Note: While GOB and COB surfaces are tougher than standard LEDs, you must still avoid hitting the edges of the module against the frame to prevent physical damage.
4. Disconnect Cables: Carefully unplug the flat data cable (ribbon cable) and the power cable from the back of the module.
Now, prepare the replacement module for installation:
1. Connect the Cables: Plug the power and data cables into the new module. Ensure the connectors click into place and sit firmly.
2. Check Directional Arrows: Look at the arrows on the back of the module. They usually point "Up" or "Right." Match this direction with the existing modules in the cabinet.
3. Secure via Magnets: Position the module over the opening. The internal magnets will pull the module into the frame and lock it in place.
4. Verify Flatness: Use your palm to gently press the edges. The surface must be perfectly flush with the surrounding modules to avoid visible seams.
After installation, turn the power back on. Observe the new module to confirm it is functioning correctly. If you notice a slight difference in brightness compared to the rest of the screen, use your LED control software to upload calibration data or manually adjust the coefficients for that specific area.
· No Local Repairs: Unlike traditional SMD screens, you cannot replace a single lamp on a GOB or COB module with a soldering iron. The protective glue (GOB) or integrated chip packaging (COB) makes on-site micro-soldering impossible. You must replace the entire board.
· Factory Refurbishment: Do not throw away the faulty module. Place it in an anti-static bag and send it back to the manufacturer. Factories use specialized ultrasonic cleaners or de-gluing equipment to strip the protection and repair the internal chips for future use.
 +86 18688923792
  andy@tosled.com


